You’re asking a deceptively simple question: what’s the easiest thing to manufacture? The honest answer: it depends on your skills, tools, budget, and how quickly you want to ship something people actually buy. In practice, you get there by scoring products on simplicity, startup cost, repeatability, safety, and margin-not by chasing a single unicorn item. Here’s a clear, no-nonsense way to pick your winner and start making.
Easy-to-manufacture product is a small, repeatable item with simple processes, low tooling costs (often under $300), readily available materials, light regulation, and cycle times under 30 minutes per unit.
TL;DR
- Candles, stickers, tote bags, concrete planters, and beeswax wraps are fast, cheap, and repeatable.
- Judge ideas by 6 factors: complexity, materials, tools, regulation, repeatability, shipping.
- Under $300 can get you started with stickers or candles; $500-$1,000 opens tote bags and concrete.
- Margins of 60-85% are common if you batch work and control waste.
- Follow basic safety/labeling (ASTM for candles, FDA/FTC rules for soap/textiles).
What makes something “easy to manufacture”?
Think of “easy” as a score, not a feeling. Use these six levers to judge any product idea quickly:
- Process complexity: Fewer steps, less heat/pressure, and minimal curing equals faster cycles.
- Materials availability: Can you buy everything at a local craft store or standard supplier?
- Tools and fixtures: Entry tools under $300 with a clear upgrade path are ideal.
- Regulatory load: Fewer claims and simpler labeling lower your setup time and risk.
- Repeatability: Can a beginner hit consistent results by batch two?
- Shipping risk: Non-fragile, small, and lightweight cuts cost and damage.
Score three or more of these high, and you’ve probably found an easy starter product.
The shortlist: 10 easiest products to make right now
These are popular because they hit simplicity, cost, and demand without crazy tooling. I’ll give you what they are, why they’re easy, and what they need.
Candle is a wick-and-wax lighting product typically made from soy, paraffin, or beeswax, produced by melting and pouring wax into a container or mold. Why it’s easy: melt, scent, pour, cure. Tools: pour pot or small melter, thermometer, containers, wicks. Materials are everywhere. Standards: ASTM F2417 (fire safety), ASTM F2058 (labeling) are the go-to references.
Soap is a salt of fatty acids used for cleaning; handmade soap can be cold-process (lye + oils), hot-process, or melt-and-pour (no lye handling by the maker). Why it’s easy: melt-and-pour is beginner friendly. Tools: microwave or double boiler, molds, cutters. Note: In the U.S., “true soap” with no cosmetic claims can fall outside FDA cosmetic rules, but any cosmetic claim moves you under FDA cosmetic guidance and may trigger ISO 22716 GMP best practices.
Sticker is a printed or cut label with a pressure-sensitive adhesive, often made with vinyl or paper and a protective laminate. Why it’s easy: desktop cutter + printer = fast. Tools: craft cutter (Cricut/Silhouette), inkjet/laser printer, cutting mats. Materials: printable vinyl, laminates. Low regulation. Flat, cheap shipping.
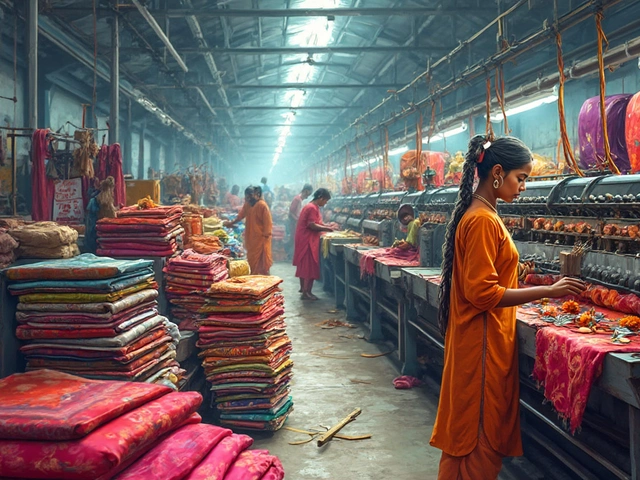
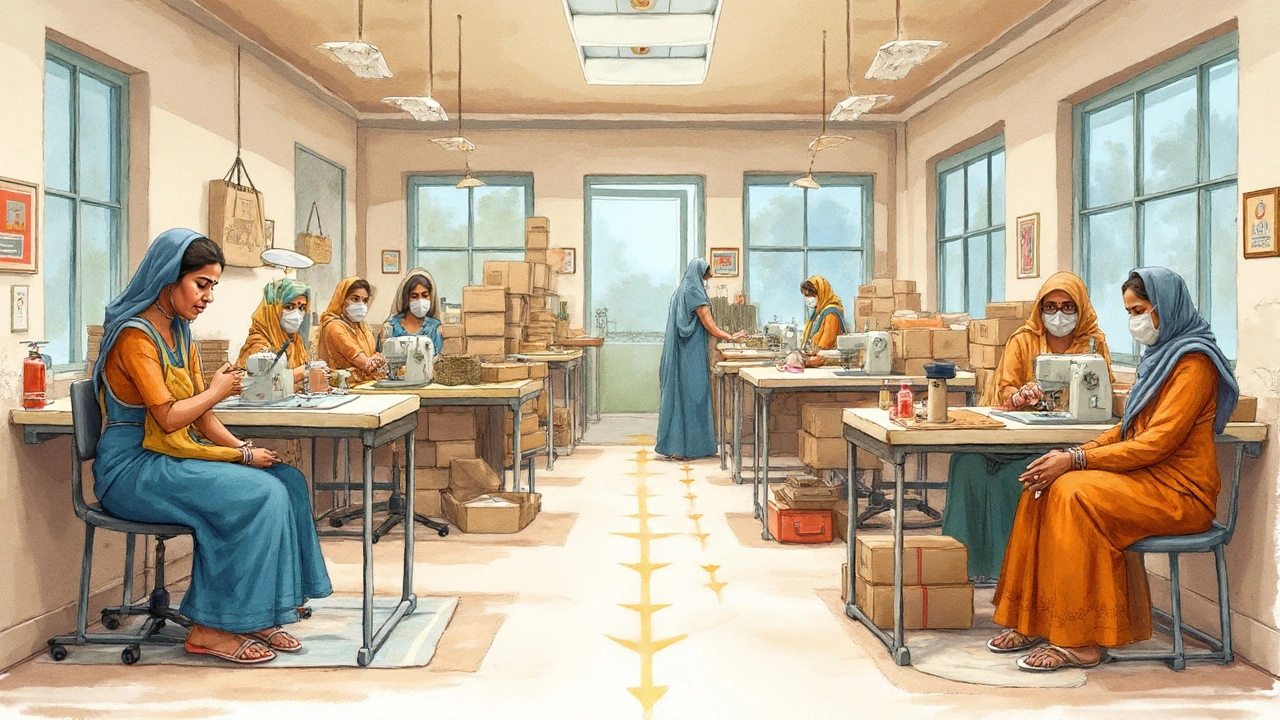
Tote bag is a durable fabric bag with parallel handles, commonly made from cotton or nonwoven polypropylene. Why it’s easy: simple seams and panels. Tools: entry sewing machine, shears, patterns, or blank totes plus heat transfer vinyl. Labeling: follow fiber content and care guidance (FTC Care Labeling Rule in the U.S.).
Concrete is a composite material of cement, sand, aggregate, and water used for casting objects like planters, coasters, and trays. Why it’s easy: mix, pour, demold. Tools: mixing bucket, scale, vibration (even a palm sander against the mold). Materials: cementitious mix, pigments, sealers. Safety: dust mask, gloves.
Beeswax is a natural wax produced by honey bees, used in candles, wraps, and polishes. Why it’s easy for wraps: melt wax with resin and oil, apply to cotton, cool. Food-contact claims vary by country; stick to “reusable food wrap” wording and avoid antimicrobial claims without evidence.
3D printing is an additive manufacturing process that builds parts layer-by-layer; entry-level fused filament fabrication (FFF) uses thermoplastic filaments like PLA. Why it’s easy: push-button once tuned. Tools: consumer 3D printer, slicer software. Good products: phone stands, cable clips, jigs. Materials: PLA prints at ~200°C, low odor, biodegradable in industrial composting.
Silicone rubber is an elastomer used for flexible molds and casting, often supplied as a two-part room-temperature vulcanizing (RTV) system. Why it’s easy: pour a master, cure, and now you can cast concrete, resin, or wax repeatedly. Great for scaling simple shapes.
Heat press is a machine that uses heated plates and pressure to apply heat transfer vinyl (HTV) or transfer prints to textiles. Why it’s easy: pair with a cutter to customize T-shirts, totes, caps. Tools: desktop press (9x12 inches or larger), HTV, blanks. Avoid infringing logos; stick to original designs.
Also consider paper goods (notebooks, cards) if you already have a printer and guillotine cutter-cheap to ship, nearly zero regulation, and batching is simple.
Comparison: startup cost, time, and margins
| Product | Starter tools budget | Materials cost/unit | Typical sell price | Gross margin | Time/unit | Notes |
|---|---|---|---|---|---|---|
| Candle (8 oz) | $120-$300 | $1.20-$2.00 | $8-$18 | 75-88% | 10-20 min + cure | Use ASTM safety labels; test wick + vessel combo |
| Sticker (3 in) | $200-$450 | $0.05-$0.20 | $2-$4 | 80-95% | 1-2 min (batched) | Laminate for durability; ship in envelopes |
| Tote bag (cotton) | $180-$600 | $2.50-$4.00 | $12-$25 | 60-85% | 10-25 min | Simple seams or use blanks + HTV prints |
| Concrete planter | $150-$400 | $0.80-$2.00 | $8-$20 | 75-92% | 10-15 min + cure | Seal for water resistance; watch dust safety |
| Beeswax wrap | $80-$200 | $0.70-$1.50 | $6-$12 | 75-90% | 5-8 min | Avoid antibacterial claims; food-wrap wording |
| 3D-printed phone stand | $220-$600 | $0.30-$0.80 | $6-$15 | 80-95% | 30-90 min (machine time) | Runs while you sleep; QA for warping |
| T-shirt (HTV) | $300-$700 | $4-$7 | $15-$30 | 60-80% | 8-12 min | Use heat press for consistency; pre-press shirts |
Numbers depend on your suppliers and batch sizes. Margins shown are gross (before overhead). A common pricing rule is 3× materials for retail, 2× for wholesale-then refine with your real labor and overhead.
Quick-start builds (with realistic steps)
Soy container candle (8 oz)
- Tools: 2-qt pour pot, digital thermometer, scale, glue dots, wick centering tool.
- Materials: soy wax, cotton wick (size matched to vessel), jar with lid, fragrance oil, warning label.
- Process: melt wax to ~170°F, add 6-8% fragrance by weight at ~160°F, stir 2 min, pour at ~135°F, center wick, cure 24-72 hours.
- QA: test burn; the melt pool should reach edges in 2-3 hours without sooting or overheating. Adjust wick or fragrance load.
- Compliance: add safety label per ASTM F2058; avoid claims like “non-toxic” unless supported.
Vinyl sticker (3-inch die-cut)
- Tools: desktop cutter, inkjet printer, cutting mat, squeegee.
- Materials: printable vinyl, clear laminate sheets, mailers.
- Process: print art CMYK with rich black, laminate, cut with registration marks, weed, pack with backing cards.
- QA: rub test and water test; outdoor? choose UV laminate and permanent adhesive vinyl.
- Shipping: rigid mailers or sandwich between chipboard to prevent bends.
Concrete planter (desk size)
- Tools: mixing tub, scale, spatula, vibration source (palm sander touching mold), PPE (mask, gloves).
- Materials: fine concrete mix, pigment (optional), water-based sealer, inner and outer molds (plastic cups or silicone).
- Process: mix to yogurt consistency, pour slowly, vibrate to release bubbles, cure per mix spec (often 24-48 hours), demold, sand edges, seal.
- QA: check for pinholes; a thin slurry coat or higher vibration time reduces voids.
- Packaging: wrap with kraft paper and corner protectors; concrete chips easily if tossed.
Safety and compliance without the headache
Skip the myths. Here’s the simple version of what most beginners need:
- Candles: Follow ASTM F2417 (fire safety) and F2058 (labeling). Use caution statements and basic burn instructions.
- Soap: If you only claim “cleans,” you may avoid cosmetic regulation for “true soap” in the U.S. Cosmetic claims like “moisturizes” move you under FDA cosmetic guidance; use good manufacturing practices (ISO 22716 is the gold standard reference).
- Textiles (T-shirts, totes): Include fiber content and care instructions; read the FTC Care Labeling Rule. For kids’ apparel, check flammability and drawstring rules.
- 3D prints and concrete: Avoid structural claims. For food-contact, use only verified food-safe materials and processes or avoid the claim entirely.
- Labels: Avoid health claims unless you have evidence. Say what it is, what’s in it (when required), who made it, and how to use it safely.
- Insurance: As you grow, consider product liability coverage; it’s cheap protection compared to a single incident.
Authoritative references you can Google: FDA Cosmetics, ASTM candle standards, ISO 22716, and the U.S. FTC labeling rules. No need to memorize-just know where to check.

How to price so you actually make money
Use two simple numbers: fully loaded cost and target margin.
- Fully loaded cost = materials + packaging + direct labor + a slice of overhead (rent, utilities, consumables).
- Retail price floor = max(3 × materials, 1.5 × fully loaded cost) until you know your market.
Examples:
- Candle: $1.60 materials + $0.60 packaging + $0.80 labor + $0.30 overhead = $3.30 fully loaded. Retail test at $12-$16. Wholesale at $6-$8 (only when you can batch 50+ with low waste).
- Sticker: $0.12 materials + $0.05 packaging + $0.15 labor + $0.03 overhead = $0.35. Retail at $2-$3; bundle 3 for $7 to lift AOV.
Two pro tips:
- Batch size: Jump from single-piece flow to batches of 10-30 as soon as you can. Your labor per unit drops fast.
- Waste tracking: Write down rejects and why they happened. Fixing one recurring defect can add 10+ points of margin.
Tooling: start scrappy, upgrade smart
Don’t overspend day one. Build a path like this:
- Candles: pour pot → small electric melter (5-10 lb) → wax melter with spout (20+ lb) → multi-spout filling jig. Each step lifts hourly output 2-5×.
- Stickers: craft cutter → better blades and mats → cold laminator → outsourced gang-run prints for volume.
- Totes/tees: home iron (works but inconsistent) → entry heat press → swing-away press for thicker items → small conveyor press.
- Concrete: plastic molds → silicone molds → vibration table → measured pigment dosing.
- 3D printing: one printer → two identical printers → print farm with a single profile to reduce tuning time.
Upgrade only when demand forces it or when it pays back in under 3-6 months.
Common pitfalls (and how to dodge them)
- Candles frosting or tunneling: Pour cooler, choose the right wick size, and let them cure fully before test burns.
- Soap sweating (glycerin dew): Wrap bars, use lower humidity, and store in airtight bins.
- Stickers peeling: Use permanent adhesive vinyl and round inside corners. Laminate for abrasion resistance.
- Concrete cracking: Mix too dry? Increase water a touch and vibrate longer; cure slower, away from sun.
- 3D print warping: Increase bed temperature, add brims, and print PLA in an enclosure or draft-free area.
- HTV not sticking: Pre-press garments 5 seconds to drive off moisture; press with the right pressure and time for your vinyl.
Related concepts you’ll bump into
These ideas help you level up as demand grows:
- Design for manufacture: Simplify shapes, reduce parts, standardize sizes. Your waste drops, quality rises.
- Lean manufacturing: Small batches, visual cues, and standard work so you can hand off tasks cleanly.
- Product-market fit: Don’t scale until strangers buy from you at full price-consistently.
- Packaging engineering: Right-size your boxes, protect corners, compress void space; shipping costs vanish fast.
- Channel strategy: Direct-to-consumer (online), pop-ups/markets, or wholesale to boutiques; each demands different pricing and packaging.
If I had to pick one “easiest” today
Stickers and soy candles edge out the rest for beginners. Stickers win on speed, ultra-low risk, and tiny shipping costs. Candles win on brand and gifting demand, with higher average order values. If you already sew, totes and tees can be just as simple. If you like tools doing the work, 3D printing is great while you sleep.
Next steps
- Choose your product by scoring it on the six factors above. If two tie, start with the one that ships flatter.
- Buy tools that pay back in 90 days at your expected weekly volume.
- Make three small batches, fix one defect per batch, and reprice after batch three using your real costs.
- Document your process once; that turns your hobby into a repeatable mini factory.
Frequently Asked Questions
What is the single easiest product for a total beginner?
Stickers. A desktop cutter and inkjet printer get you live in a weekend, materials are cheap, shipping is simple, and there’s almost no regulation. If you want a giftable item with a higher ticket, start with soy container candles next.
How much money do I need to start?
$150-$300 is enough for candles, beeswax wraps, or basic concrete planters. $300-$700 covers a cutter + press for stickers and T-shirts. 3D printing can start around $250-$600. Spend only what you can earn back in 90 days at your target weekly output.
What safety or legal rules should I follow as a home manufacturer?
Use relevant standards as your checklist: ASTM F2417 and F2058 for candles, FTC Care Labeling Rule for textiles, and FDA cosmetic guidance if you make cosmetic claims for soap. Keep ingredients lists where required, add basic warnings, and avoid health claims unless you can prove them. As you grow, look into basic product liability insurance.
How do I price my handmade products so they actually sell?
Start with 3× materials for retail and 2× for wholesale, then adjust using your fully loaded cost (materials + packaging + labor + overhead). Check competitor pricing at markets and online, and create bundles (like sets of 3 stickers) to lift average order value without raising resistance.
What’s the fastest way to increase my margins?
Batch your work, standardize parts (same jar or blank across designs), reduce defects, and buy materials one tier up in volume breaks. Time your setup-if changeovers are eating 30 minutes, group similar runs back-to-back. One fixed process step often adds 10+ percentage points to margin.
Which products are risky for beginners?
Anything with strict compliance or safety-critical use: skincare with active ingredients, baby products, structural parts, or food-contact items without verified materials. You can make them later, but start with low-risk goods like stickers, candles, and non-structural concrete.
How do I know if my product idea has demand?
Run a tiny test: 20-50 units, simple branding, and a weekend market or small online drop. If strangers buy at full price and come back to ask for more, you have early traction. If not, tweak the design or switch to a simpler product that ships flatter or gifts better.
What should I upgrade first when orders increase?
Upgrade the bottleneck that gives the biggest throughput bump: candle melter capacity, cutter speed, a real heat press, or adding a second 3D printer. If packaging is slow, move to pre-sized boxes and a tape gun. Only buy gear that pays back in under six months at your current volume.